
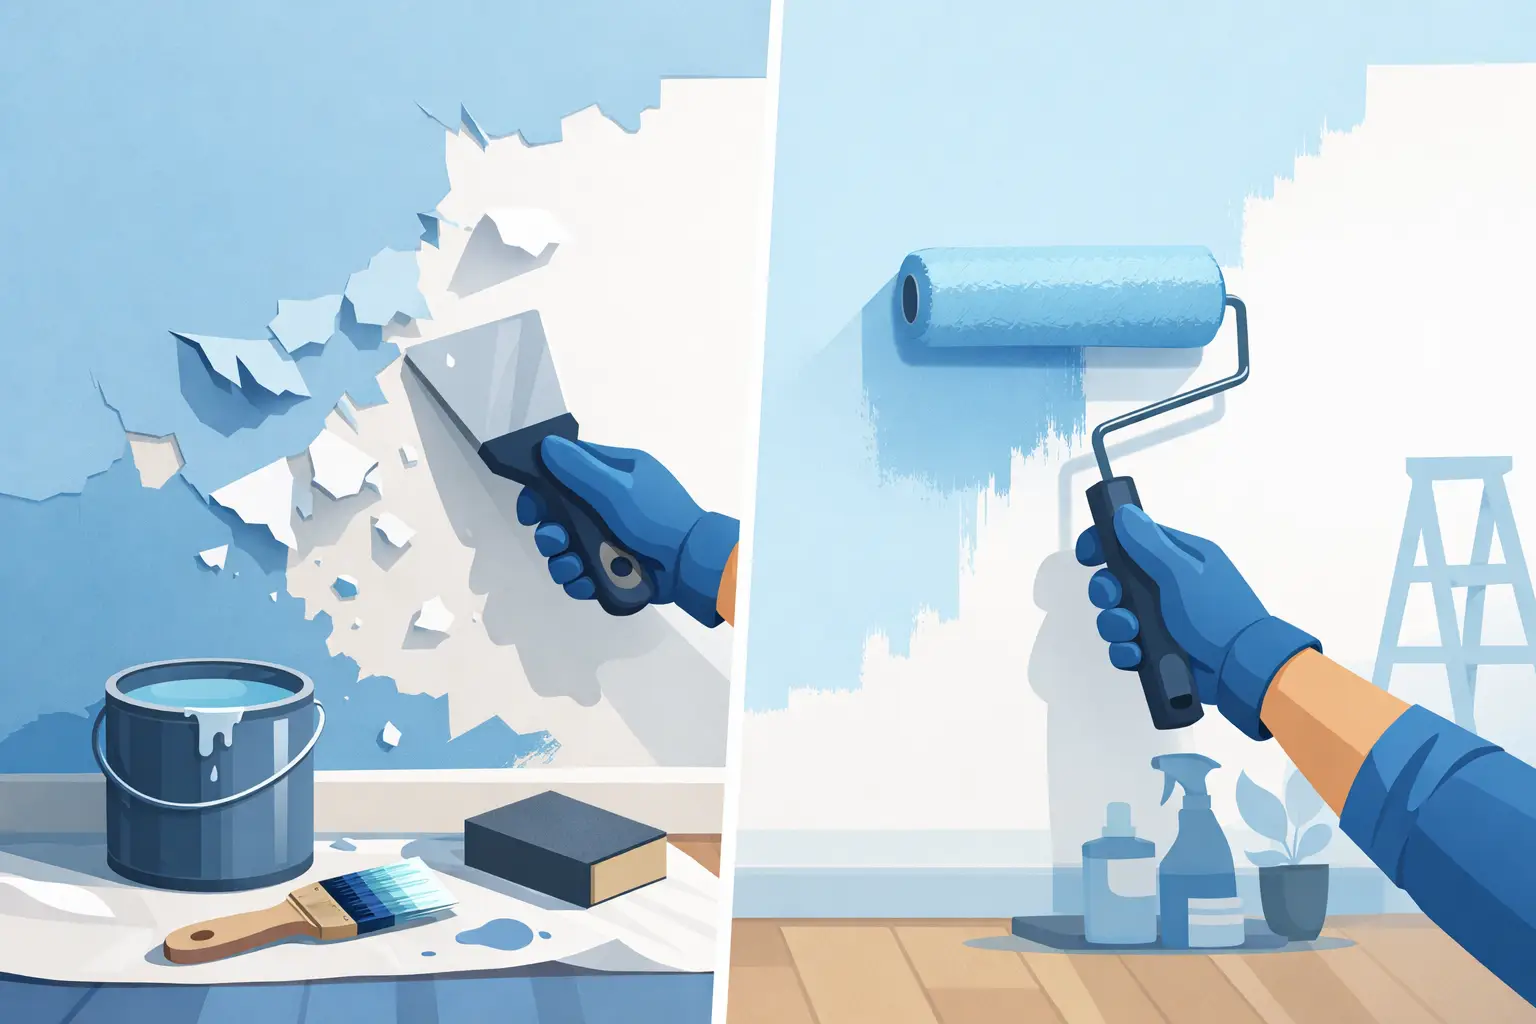
Paint rarely peels for no reason. A few loose flakes near a bathroom window may point to steam and poor ventilation, while broad failure on exterior trim can signal water intrusion, sun exposure, or an earlier coating that was applied incorrectly. To fix peeling paint properly, the goal is not to cover the damaged area quickly. It is to correct what caused the paint to release, rebuild a sound surface, and apply a coating system that can perform over time.
For San Diego County homes, commercial properties, and HOA communities, that diagnosis matters. Coastal moisture and salt air, intense sun, seasonal rain, irrigation overspray, and aging stucco or wood can all affect paint performance. A durable repair protects more than appearance. It helps preserve drywall, siding, trim, stucco, and the long-term value of the property.
Why Paint Peels in the First Place
Peeling paint is an adhesion failure. The paint layer loses its grip on the surface beneath it, or one layer releases from another. The visible peeling may be limited, but the underlying condition can extend beyond the obvious damaged spot.
Moisture is one of the most common causes. Water can enter through a failed caulk joint, roof or plumbing leak, cracked stucco, damaged flashing, unsealed window, or exterior wood rot. Indoors, repeated humidity from showers, laundry rooms, and kitchens can create the same problem. Painting over a damp surface only hides the condition temporarily.
Preparation problems are another frequent cause. Paint will not bond reliably to dust, grease, chalky exterior paint, glossy finishes, mildew, or loose material. Applying paint to a surface that was not properly cleaned, sanded, repaired, or primed often leads to early failure.
Exterior exposure also plays a major role. South- and west-facing elevations receive prolonged UV exposure that can dry, fade, and weaken paint. Near the coast, salt residue can interfere with adhesion if it is not washed away. On older properties, incompatible coatings can create problems as well, such as applying a rigid paint over a surface that moves or using the wrong primer for bare wood, metal, drywall, or stucco.
How to Fix Peeling Paint the Right Way
A lasting repair follows a sequence. Skipping one of these steps can turn a small correction into a repeated maintenance issue.
1. Find and correct the source of damage
Before scraping, look for signs of water or surface failure. Staining, soft drywall, swollen trim, cracked caulk, mildew, rust marks, bubbling, or repeated peeling in the same location deserve closer attention. On an exterior wall, inspect nearby gutters, downspouts, windows, doors, roof edges, irrigation heads, and stucco cracks.
If the paint is peeling around a shower, window, or ceiling, determine whether the issue is humidity, condensation, a plumbing leak, or water entering from outside. The repair may require drywall work, carpentry, caulking, stucco repair, plumbing, or improved ventilation before painting begins. New paint cannot solve an active moisture problem.
2. Remove every loose edge
Use a scraper or putty knife to remove peeling, bubbling, and poorly bonded paint. Continue until you reach a stable edge where the remaining coating is firmly attached. This step can feel aggressive, but leaving loose paint in place gives the new paint a weak foundation.
Feather the edges with sandpaper so the repaired area transitions smoothly into the surrounding painted surface. A sharp paint ridge may remain visible after repainting and can become a point where moisture enters later. For larger exterior areas, professional sanding and surface preparation may be the more efficient choice.
If a property was built before 1978, do not assume old paint is safe to sand or scrape. Lead-based paint may be present. Disturbing it without proper containment and cleanup creates an unnecessary health risk, especially in occupied homes, multifamily communities, and commercial spaces.
3. Clean the surface thoroughly
Cleaning is not optional. Interior walls may need a mild cleaning solution to remove oils, soap residue, cooking film, or dust. Exterior surfaces often need a careful wash to remove dirt, mildew, chalking paint, salt residue, and airborne contaminants.
Allow the area to dry completely before moving forward. Drying time depends on the material, weather, ventilation, and extent of the moisture exposure. This is especially important for stucco, wood trim, drywall repairs, and any wall that was recently affected by a leak. A surface can feel dry to the touch while still holding moisture below the surface.
4. Repair the substrate, not just the finish
Once the loose paint is removed, inspect what remains underneath. Hairline cracks in drywall may need patching and sanding. Damaged drywall may require replacement if it has softened or deteriorated. Cracked exterior stucco should be repaired before paint is applied so water cannot continue working behind the coating.
Wood trim deserves particular attention. Peeling paint around fascia boards, eaves, windows, and doors may reveal deteriorated wood. Filling minor defects can work when the wood remains solid, but soft, split, or rotted sections should be repaired or replaced. Painting over rot is cosmetic at best and can allow damage to spread.
For metal railings, gates, or exterior fixtures, remove loose paint and rust before applying a primer designed for metal. Different surfaces require different repair methods, which is why a one-size-fits-all paint product can produce disappointing results.
5. Use the right primer
Primer creates the bridge between the repaired substrate and the finish coat. Bare drywall, patched areas, exposed wood, repaired stucco, stained surfaces, and metal all benefit from a compatible primer. It improves adhesion, helps create an even appearance, and can prevent stains or tannins from bleeding through the new paint.
The right primer depends on the surface and condition. A stain-blocking product may be necessary after a water stain has been fully corrected and dried. Bare exterior wood may require a high-quality exterior wood primer. Chalky masonry or stucco may require a masonry-specific bonding product. The best choice is not always the most expensive can on the shelf – it is the one designed for the substrate and coating system.
6. Repaint under suitable conditions
Apply quality paint in thin, even coats after the primer has cured as directed. Avoid painting when rain is expected, when exterior surfaces are excessively hot, or when humidity prevents proper drying. On hot San Diego days, walls in direct sun can be much hotter than the air temperature, causing paint to dry too fast and reducing its ability to level and bond.
For bathrooms, kitchens, laundry rooms, and other higher-moisture areas, choose a finish designed to handle cleaning and humidity. For exterior surfaces, use an exterior-grade coating appropriate for wood, stucco, masonry, or metal. Quality materials matter, but workmanship and preparation determine whether those materials can deliver their expected service life.
Interior and Exterior Repairs Are Not the Same
Interior peeling often has a more contained cause: a leak, poor ventilation, condensation, or a poorly prepared repaint. The repair may be relatively straightforward once the source is addressed. Still, repeated paint failure near a plumbing fixture or exterior wall should be investigated rather than repainted repeatedly.
Exterior peeling is usually more exposed to multiple forces. Sun, wind-driven rain, salt air, irrigation, building movement, and failed caulking can work together. Homes near the coast may need more frequent inspection and washing than inland properties. Properties with extensive stucco, wood trim, balcony components, or complex rooflines may also require coordinated repair work before painting can begin.
For HOA and commercial properties, consistency adds another layer of responsibility. Repairs should match approved colors and finishes, minimize disruption, and address recurring conditions across similar units or elevations. A single peeling area can indicate a broader maintenance pattern worth evaluating.
When a Professional Repair Is the Better Decision
Small peeling spots in a dry, accessible room can be a manageable maintenance task. The trade-off is that a DIY repair can fail quickly if the moisture source, substrate condition, or primer choice is misjudged.
Professional help is often the better route when peeling covers a large area, returns after prior repainting, involves high exterior walls, appears around windows or roofs, includes damaged drywall or stucco, or may involve lead-based paint. It is also appropriate when the work requires several trades, such as carpentry, drywall repair, plumbing correction, caulking, and painting.
RTV Construction helps San Diego County property owners address peeling paint as part of a complete repair process, from identifying related drywall, stucco, trim, or moisture issues through surface preparation and finish work. That coordinated approach helps avoid the expense of repainting the same failed area again.
A clean new coat can improve a room or exterior immediately, but the real value is in the work beneath it. Correct the cause, prepare the surface with care, and the finished paint becomes a durable layer of protection rather than a short-term cover-up.
Leave a Reply